Votes
0 up votes and 0 down votes
Added
Dec. 15, 2019, 10 p.m.
Views
14,990 total views
last update May 2, 2024, 4 a.m.
Total Downloads
2,289 total downloads
last update May 2, 2024, 4 a.m.
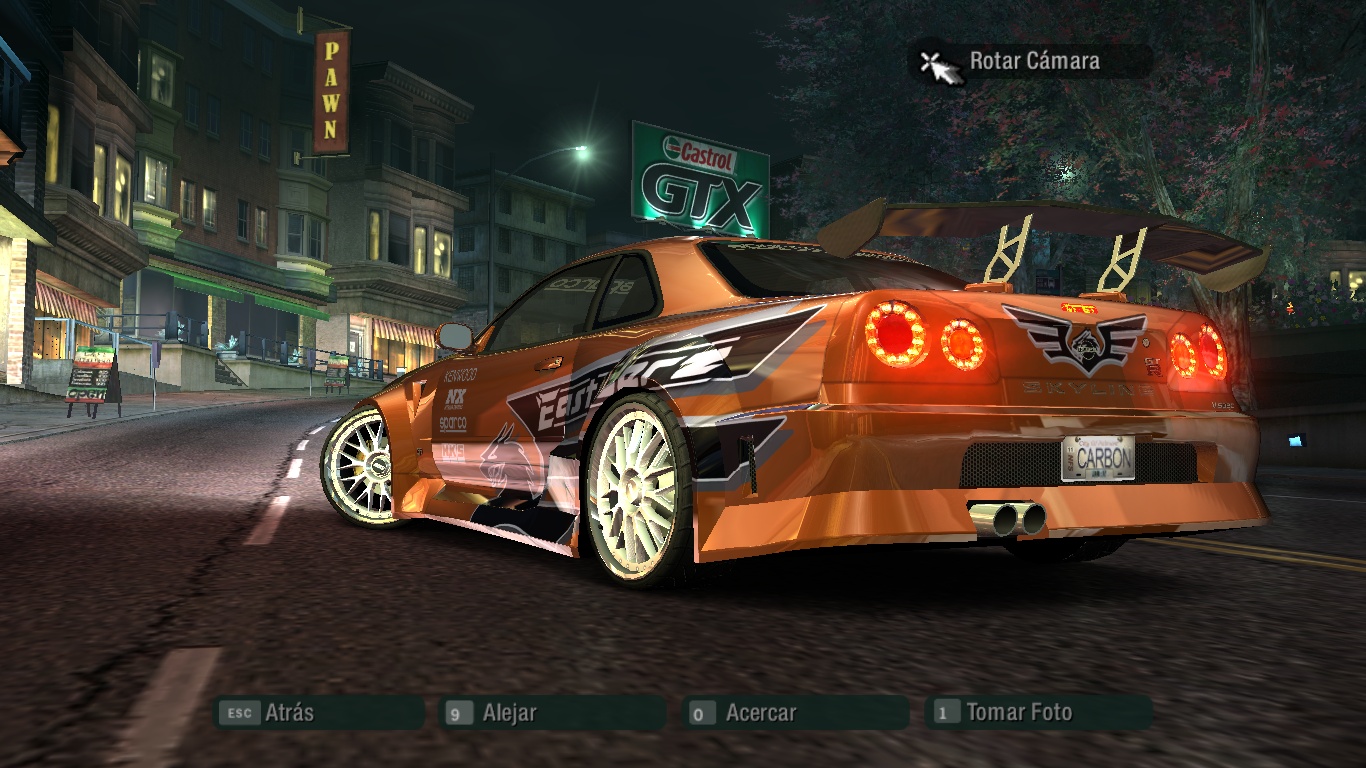
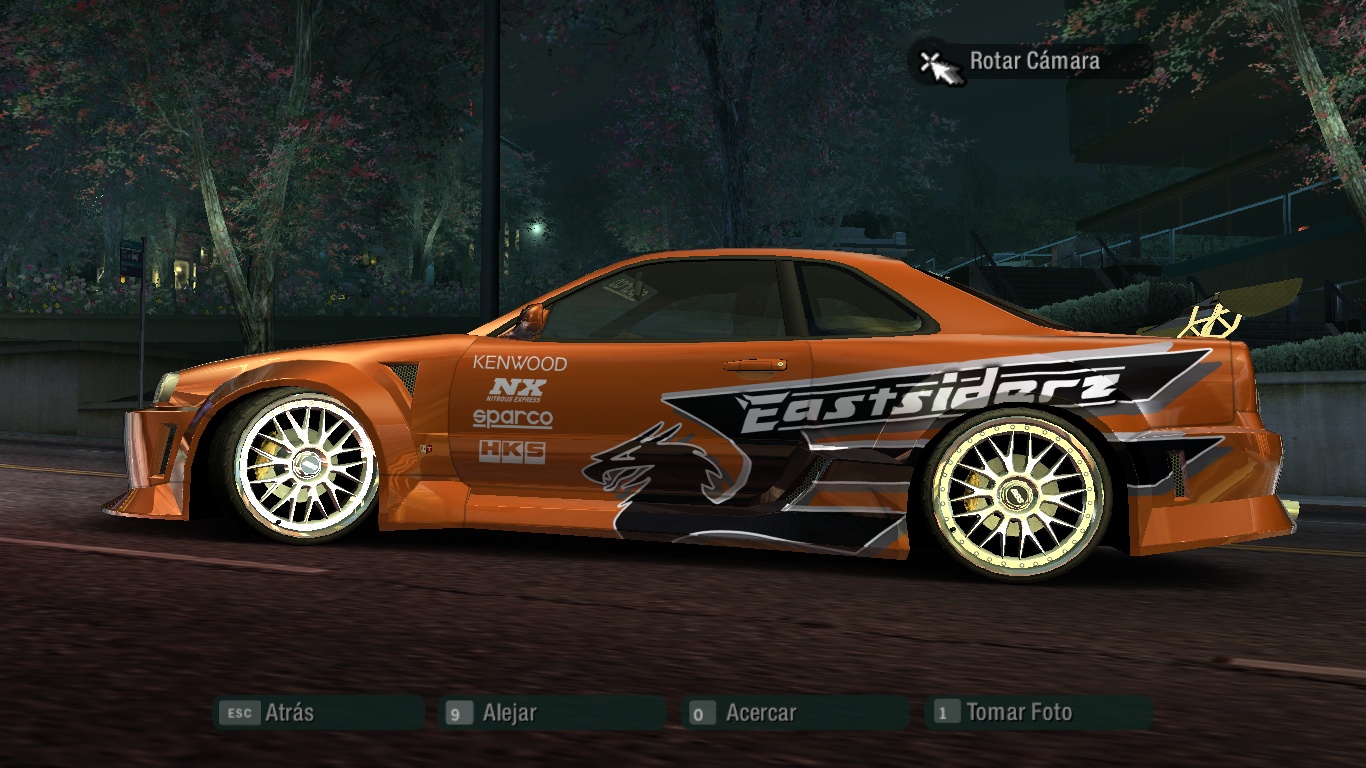
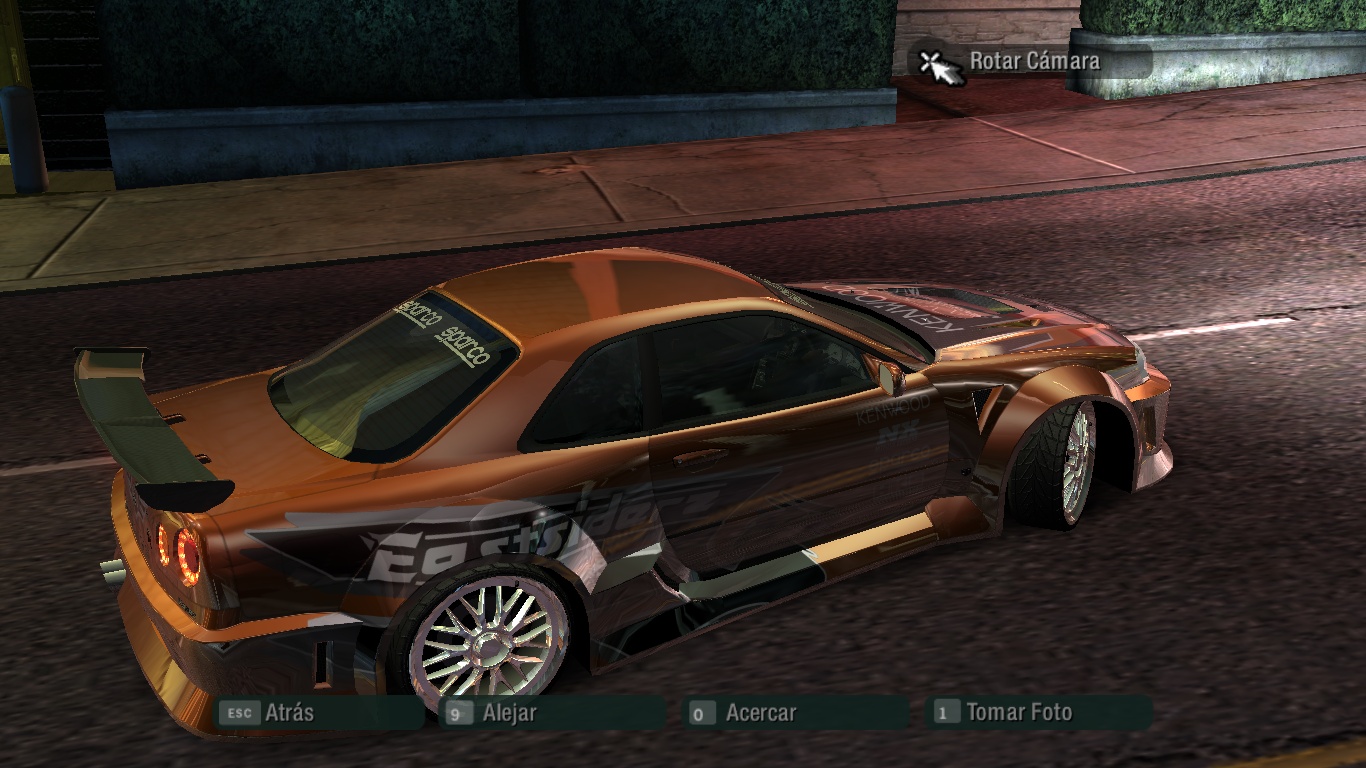
Eddie's Skyline Vinyl Mod
Need For Speed Carbon
Author
TKRFX
more by TKRFX
more by TKRFX
Photos


Description
Español (for english go below)
Tutorial
Necesitas el NFS-Tex-Ed 1.7 y el NFS Carbon Extra Options
1 - primero copias la carpeta global a la carpeta raíz de tu juego
2 - abres el NFS Tex-Ed, abres la carpeta raíz de tu juego, abres la carpeta 'CARS' después abres 'PRECOMPVYNILS' y seleccionas el archivo 'PRECOMPVYNLS.BIN' una vez dentro buscas el vinilo llamado 'GENERIC_LESAMURAI' (O algún otro) y lo remplazas por el de Eddie y le das en guardar
3 - necesitas tener activada la opción 'Debug Car' en el extra options
4 - entras al juego, seleccionas tu Skyline, después de seleccionarlo te diriges a la opción 'Debug Car' (Aparece como la ultima opción en el menú principal) seleccionas tu Skyline al cual le vas a aplicar el vinilo y buscas el apartado 'VYNILS_GENERIC' y buscas el vinilo 'GENERIC_LESAMURAI' y se lo aplicas al auto después de aplicarlo guardas la partida y listo.
Pegatinas en los vidrios
1 - abres de nuevo la carpeta 'CARS' con el NFS Tex-Ed y buscas la el archivo llamado 'TEXTURES.BIN' lo seleccionas y una vez abierto buscas la textura con el nombre de 'SPARCO_WHITE' y lo remplazas por la nueva textura que viene junto con el vinilo y le das en guardar
2 - abres de nuevo el juego, entras otra vez en el apartado de 'Debug Car' y buscas la opción 'DECAL_REAR_WINDOW_TEX0' y buscas la pegatina 'Sparco' de color blanco y después le das en guardar (Puede que ocurra el bug de que se mezcle con el vidrio frontal)
Listo
Herramientas usadas
Photoshop CS6
NFS-Tex-Ed 1.7
English
Tutorial
You need NFS-Tex-Ed 1.7 and NFS Carbon Extra Options
1 - first copy the global folder to the root folder of your game
2 - you open the NFS Tex-Ed, you open the root folder of your game, you open the 'CARS' folder then you open 'PRECOMPVYNILS' and you select the file 'PRECOMPVYNLS.BIN' once inside you look for the vinyl called 'GENERIC_LESAMURAI' (or some other) and you replace it with Eddie's and you give it to save.
3 - you need to have the 'Debug Car' option activated in the extra options
4 - you enter the game, you select your Skyline, after selecting it you go to the option 'Debug Car' (it appears as the last option in the main menu) you select your Skyline to which you are going to apply the vinyl and you look for the section 'VYNILS_GENERIC' and you look for the vinyl 'GENERIC_LESAMURAI' and you apply it to the car after applying it you save the game and ready.
Stickers in the glasses
1 - open again the folder 'CARS' with the NFS Tex-Ed and look for the file called 'TEXTURES.BIN' you select it and once opened look for the texture with the name of 'SPARCO_WHITE' and replace it with the new texture that comes with the vinyl and you give it to save.
2 - you open the game again, go back to the 'Debug Car' section and look for the 'DECAL_REAR_WINDOW_TEX0' option and look for the white 'Sparco' sticker and then save it (Maybe there is a bug that it mixes with the front glass).
Ready
Tools
Photoshop CS6
NFS-Tex-Ed 1.7
Disfrutenlo/Enjoy :D